WHAT TO DO:
Post either two final edits of two different photos or a before and after of two different photos.
See the first post in the Shared Album for more additional info.
HOW TO POST YOUR FINAL EDITS ONLY:
See the instructions below and omit Copy/Revert/Paste Settings and only post your two edited photos.
HOW TO POST BEFORE/AFTER:
There are a few ways to do this, but this way guarantees that your before/after photos are side-by-side.
iOS (iPhone/iPad):
1. Complete your edits in the Photos app.
2. Go to the screen that looks like the one below and tap on the circle with three dots in the top right corner.

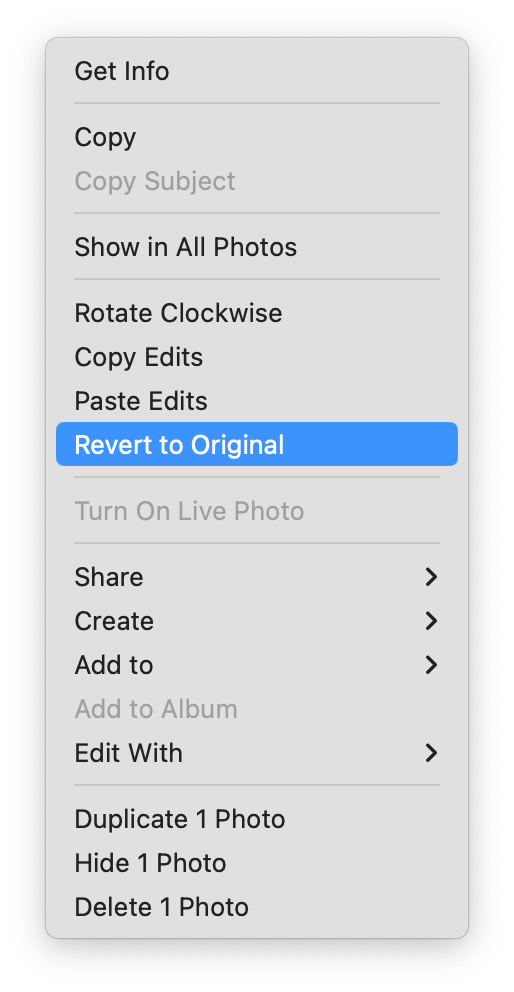
A menu will open up that looks like this:

3. Tap on, "Copy Edits". This will copy the settings of this image into your clipboard.
DO NOT CUT OR COPY AGAIN UNTIL COMPLETE.
After you tap on, "Copy Edits", the menu will close.
4. Tap on the three dots in the top right corner again and tap on, "Revert to Original".
5. Using the, "Share" icon in the bottom left, tap on, "Add to Shared Album".

6. Give your photo an art label and post the unedited copy to the "PHOTOS APP (VJCC 23) Shared Album.
To select a Shared Album, tap on "Shared Album".

7. Tap on the three dots in the top right corner again and tap on, "Paste Edits".
This will put your edits back onto your photo.

8. Using the, "Share" icon in the bottom left, caption and post the edited copy of your photo to the Shared Album.
9. On your final edited images--after you have captioned them, let us know in comments your thought process on why you chose to do what you did.
Discuss as a group online.
DESKTOP (MacOS/Windows):
Using the Photos app on desktop is the same process, but your icons are laid out a little bit differently.
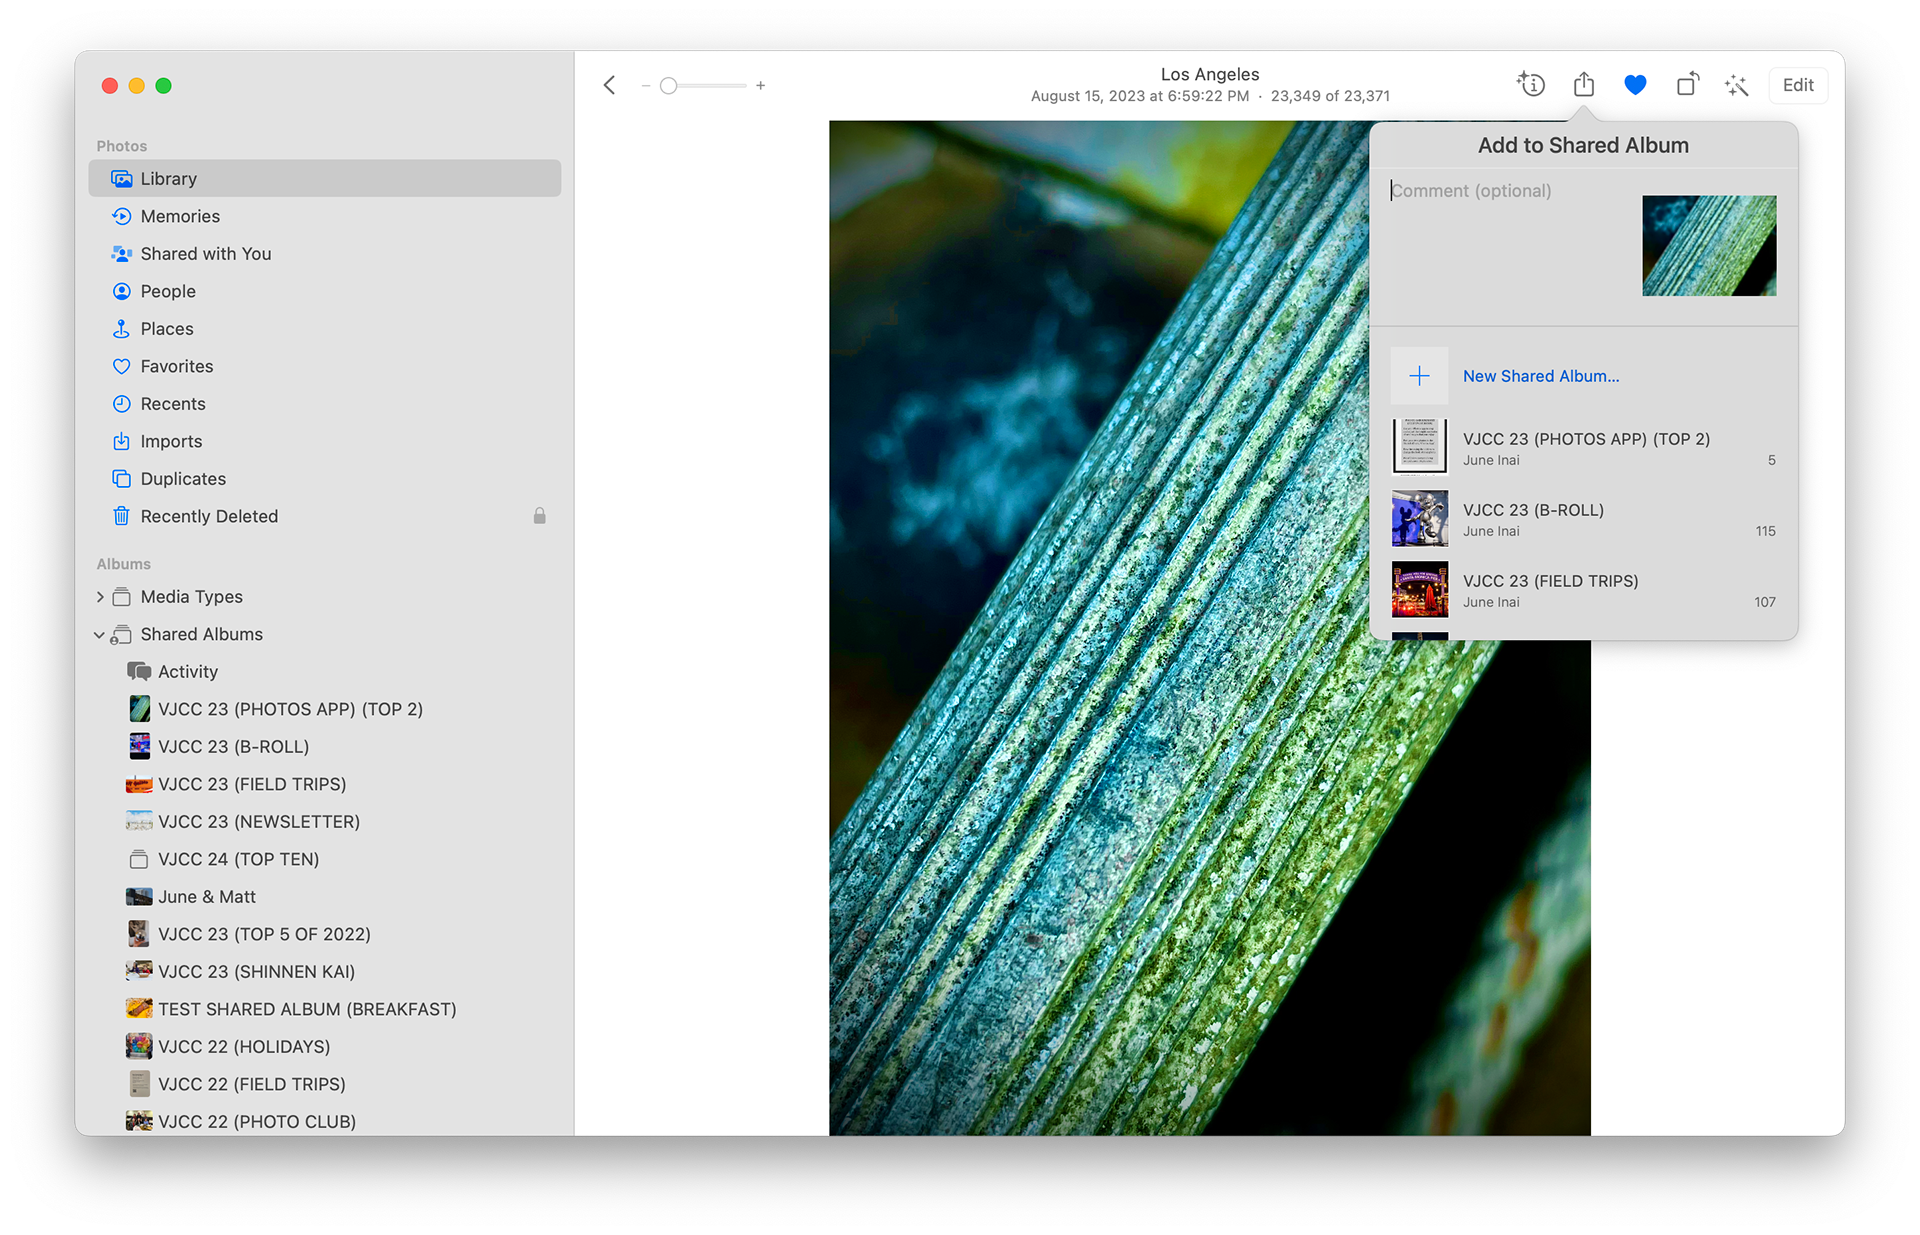
Here is what your interface will look like on MacOS. Windows will vary slightly--just look for the icons.
1. Complete your edits in the Photos app.
2. Go to the screen that looks like this and right-click (or CTRL-click) on the photo.

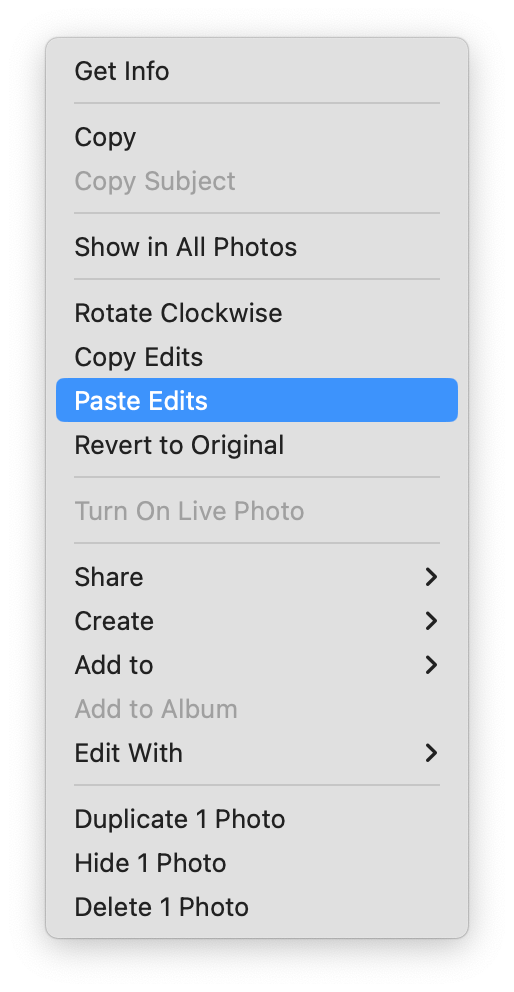
A menu will open that looks like this:
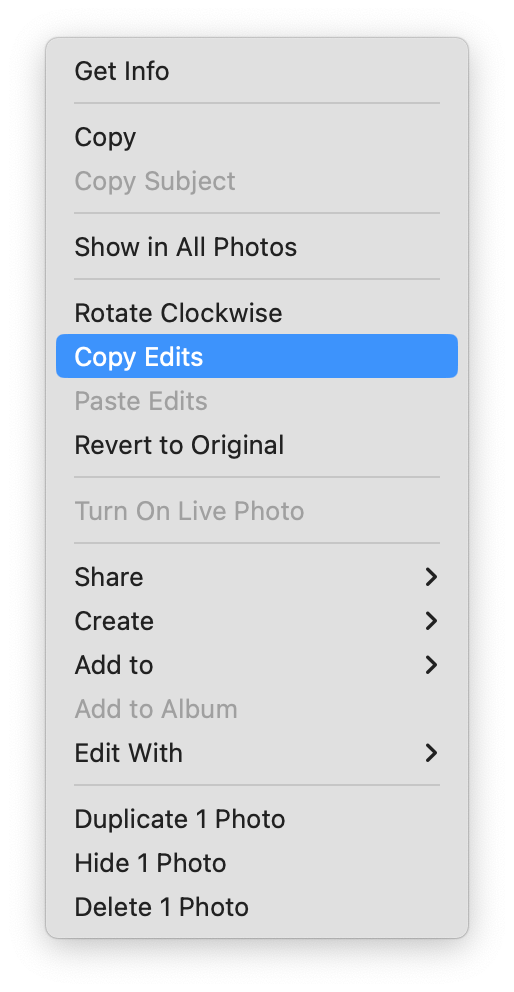
3. Tap on, "Copy Edits"--the menu will close.
4. Right-click (or CTRL-click) on the photo to reopen the menu and tap on, "Revert to Original".
5. Go to the "Share" icon.
[On MacOS, Share is in the top right corner, next to the Favorites (heart) icon.]
Tap on the Share icon and then tap on, "Shared Albums".
A menu will open that looks like this:
6. Give your photo an art label and upload by tapping on the Shared Album, "VJCC23 (PHOTOS APP)".
7. Go back to your photo and right-click (or CTRL-click) on it, then tap on, "Paste Edits".
This will put your edits back onto your photo.
8. Using the, "Share" icon: Caption and post the edited copy of your photo to the Shared Album.
9. On your final edited images--after you have captioned them, let us know in comments your thought process on why you chose to do what you did.
Discuss as a group online.