AQUARIUM PHOTO TIPS:
This weekend’s field trip will be a perfect opportunity to knock out projects one and two with enough different opportunities for variations to not have many or any overlapping compositions so that everyone can have a chance to show unique images to the group.
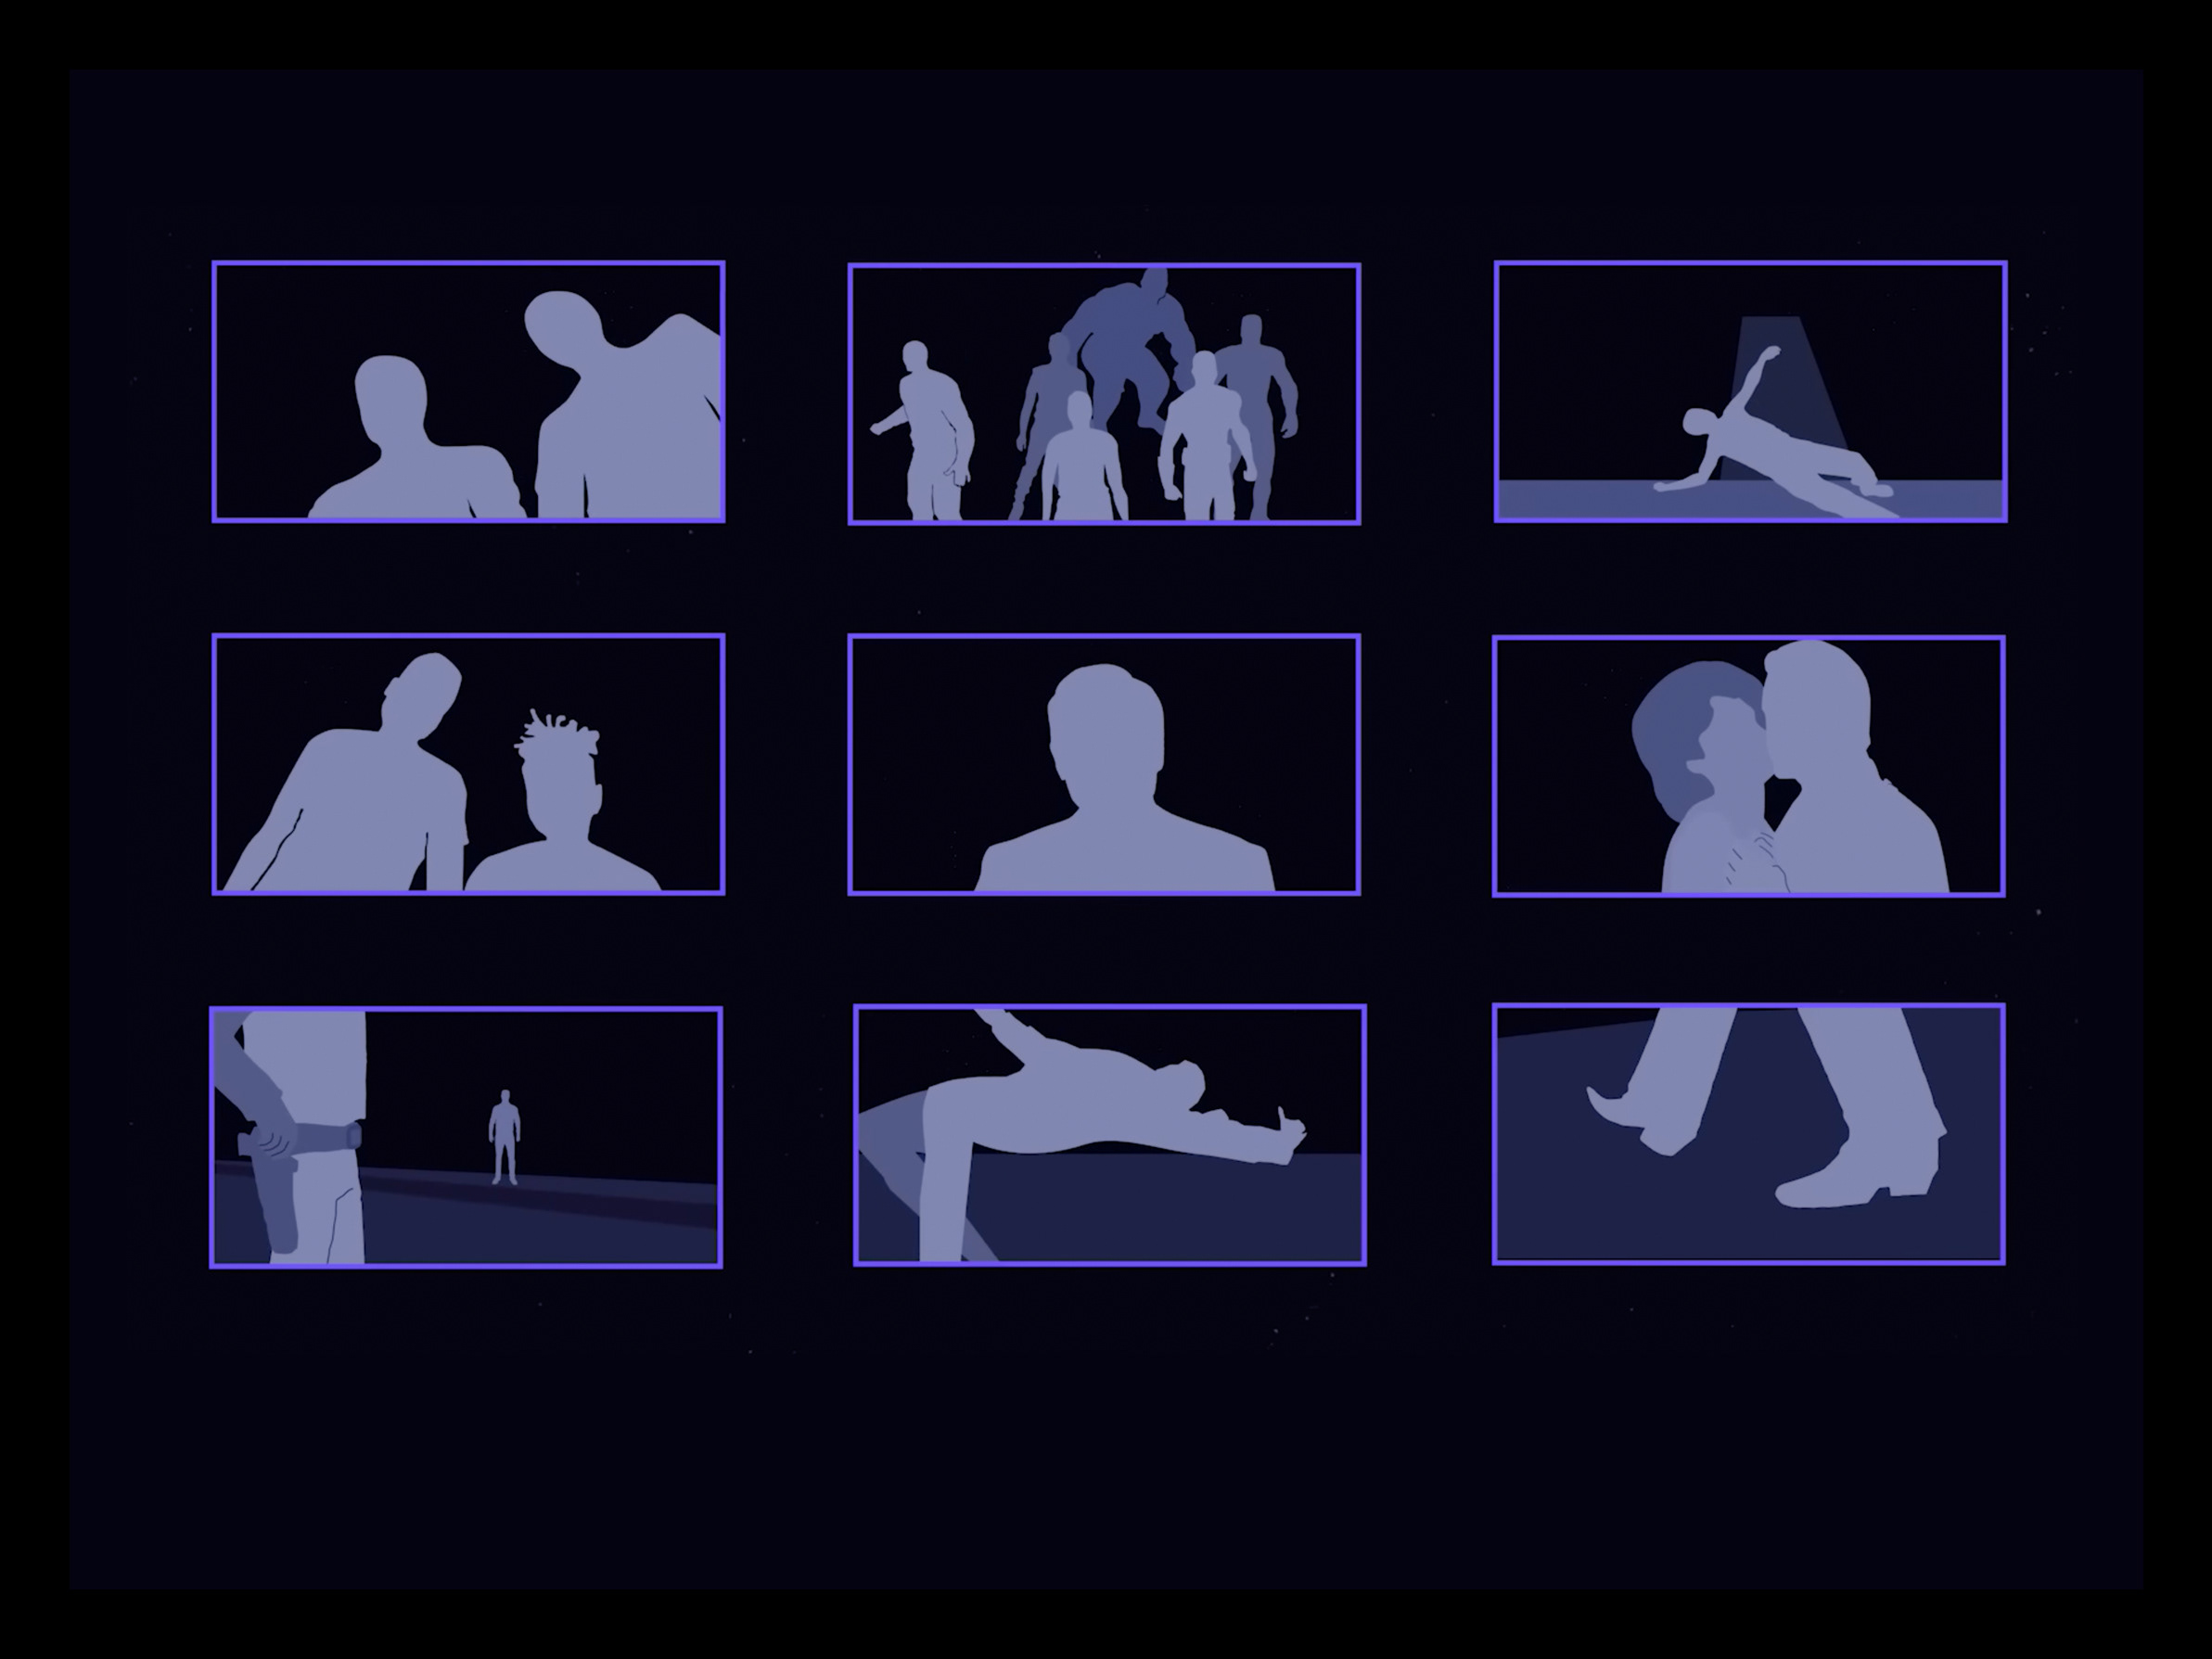
Show something the rest of us might not have seen while there (or not there) while at the same time utilizing the standards of composition to avoid sharing “snapshots”.
Here are a few different sources for information on how to take better pictures at an aquarium. For the most part, they all have similar notes, but each from a slightly different perspective.
Use these tips along with those found in “Basic Photo Tips” & “Composition” and you will have a swimmingly successful photo field trip going to the aquarium.
MY TAKEAWAYS FROM THE ARTICLES:
1. NO FLASH PICTURES, PLEASE.
2. We will be in a highly reflective environment—this is a perfect opportunity for you to practice dressing like pro photographers. Wear all-black clothing that has no logos or graphics. This will greatly reduce your own reflection in the aquarium glass, and for those of you that enjoy taking candid photographs of people, will help you to blend into the background and not be noticed.
3. Take lots of pictures. I’ll type this again—take lots of pictures. This is a perfect opportunity for you to use the continuous shooting mode on your camera—this is what it was made for. Because your subjects are going to be constantly in motion without any input from you, your best method of capture is frame up to create your composition and then focus on capturing the decisive moment, which is often found between frames.
With only ten images that you can share to the group from the field trip, make them count! Your goal is to walk away with no fewer than 36 images captured in the several hours we will be together. You will go home and throw away the majority of them, which will help guarantee your success so that you only share your best.
A good rule of thumb with the decisive moment is if you can see it in your viewfinder and aren’t already rolling film, the moment has passed and the opportunity is gone. This means for you to capture the decisive moment, you need to learn to anticipate when the decisive moment will occur and be rolling film BEFORE it happens, not after.
Keep taking pictures until you feel that you've gotten the composition you were going for and know that the rest were just a method of transporting you to it. It costs nothing more than the time that you are already spending in your attempt to capture. If you walk away without your composition because you could have taken another shot, then the only thing you will have walked away with instead of your composition is the lesson: take more shots.
"You miss 100% of the shots you don't take." -Wayne Gretzky
Creating the composition that you see in your head is an evolving process using the tools in your possession. Unless you lucked into capturing lightning in a bottle when all of the elements of the universe aligned for you with the first squeeze of the trigger, the composition you are after will likely come to you somewhere in a series of attempts. Luck is where preparation and opportunity intersect--create your own luck.
This means shooting from one angle or another... or possibly another--because you are flattening three-dimensions into two-dimensions, you will need to work out how depth is effecting your final composition. Is there a plant coming out of your subject's head when shooting from another angle would remove this distracting background element? It will likely take you several iterations to achieve the ideal composition which accurately conveys the story or feeling or subject that you are placing within your frame.
You can always throw away photos at home. What you can’t do at home is go back in time to take another picture. How many times in life have you gone home and found that the one picture you took didn’t net you the composition that you were fishing for: either the subject moved, or a background element was distracting, or your camera missed focus, or it was blurry, or any number of things that can and will go wrong while capturing a subject in motion within a dimly lit environment--all things which renders an image not worth sharing.
Use the videos from the Composition section to help guide you and give you ideas on how to be intentional in your compositions, tighten up your framing, and practice capturing the decisive moment.
We will go over this in detail during our upcoming sessions.
4. Let your ISO do the heavy lifting, not your shutter and aperture. For the majority of you, your cameras can handle going up to ISO 3200+ without producing an unusable amount of grain.
5. Your shutter speed—stay between 1/125th and 1/500th. Be mindful of your aperture as well—unless you have a highly advanced autofocus tracking system, you will want to be sure to keep your subject within your lens’ depth of field. You will probably want to be somewhere in the realm of f/4 to f/5.6 and upwards of f/8 if doing macro. While the shallow depth of field from f/2.8 can create some incredible bokeh, it's more important in the early phases of your tech journey to make sure everything is sharp and in-focus.
FINAL THOUGHTS
Practicing the standards shown in the composition section of the website is the best way for you to learn how to break away from “stereotypical” “boring” “snapshots” and begin to create more impactful compositions that more clearly speak to your audience and convey to them what it is that you want to tell.
In other words, use your creative mind to show us photographs that not everyone else is taking—if we wanted to see stereotypical boring snapshots, we would stay at home and look at Instagram.
